Posted on Leave a comment

3D Measure Master – Complete Tutorial

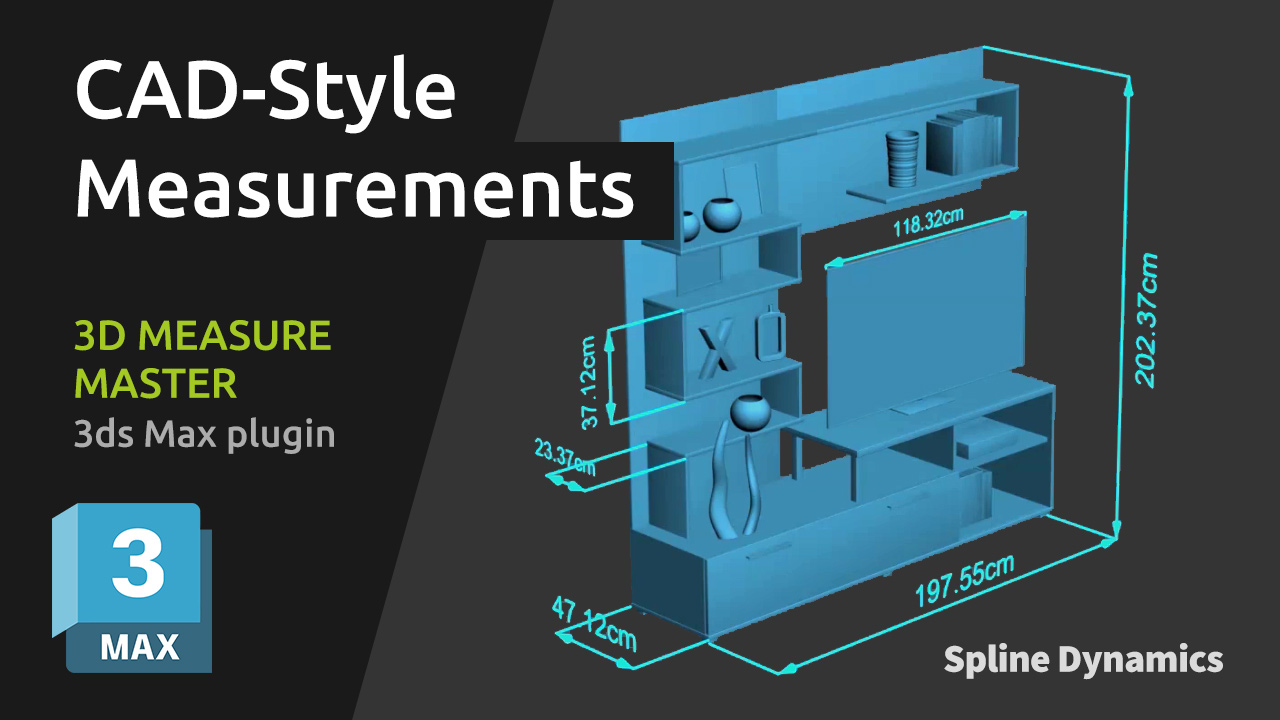
This comprehensive tutorial will guide you through every feature of 3D Measure Master, the professional 3ds Max plugin for CAD-style 3D measurements.

You’ll learn how to use the 5 main measurement tools — Tape, Angle, Radius, Diameter, and Bounding Box — to measure objects directly in your scene with real 3D precision.
The tutorial also explains how to adjust global settings (colors, units, spline thickness, text size, text offset and end markers), how to customize per-measure parameters, and how to export all your measurements to a CSV file for documentation or review.

Whether you’re an architectural visualizer, technical modeler, or product designer, this video will help you integrate accurate, clean, and renderable measurements into your 3ds Max workflow.

For a detailed explanation of every tool and parameter, please read the plugin documentation.

Share
Posted on Leave a comment

SuperHelix: Quick Video Tutorial Series

SuperHelix is one of the most versatile plugins for 3ds Max, designed to simplify the creation of complex helix-based shapes and procedural structures. To help you maximize its potential, we’ve compiled a series of five video tutorials that cover everything from quick-start basics to advanced practical examples.

Mastering the Gizmo to Shape Custom Helical Splines

Discover how to manipulate the SuperHelix gizmo in 3ds Max to craft various helical shapes and volumes. The gizmo in SuperHelix is an essential tool that offers a live preview of complex helix splines, letting you control everything from the overall flow to individual sections’ size and torsion. Learn to use the Root Helper, Main Path, and Section Controls to create custom helix designs perfect for Motion Graphics, 3D modeling, and animation paths.

Understanding the UI and Key Parameters for Helix Creation

Get a complete overview of the SuperHelix plugin UI in 3ds Max, exploring each parameter to create complex, custom helical splines. Learn how to use presets, manage gizmos, control helix turns and resolution, and apply custom paths. This detailed guide shows how each UI feature works, from setting the curve type to adjusting rotation, adding noise, and even cloning helixes around your chosen path.

Exploring Presets to Create Helical Objects

Explore the presets included in the SuperHelix plugin for 3ds Max to create unique helical spline objects. From springs and cartoon tornadoes to intricate shapes like a ball of wool and a Chinese pagoda, these presets offer an excellent starting point to master SuperHelix. Learn how each preset utilizes different parameters and gizmo structures to achieve specific effects, and see how easy it is to create complex, organic, or geometric shapes with just a few adjustments.

Create a Woven Wicker Basket using Presets

Learn how to create a realistic woven wicker basket using spline curves. Use SuperHelix presets to set up the basis of a basket model entirely made of spline curves. Adjuste the general shapes and gizmos to form the different parts of the basket. Learn tips for creating multiple helical splines aligned radially.

Create Helical Spline Animations Easily

Learn how to create stunning helical spline animations in seconds with SuperHelix. Set the time range and the animation easing and voilá!

Note: If you are interested in making complex spline animations while having detailed control over every aspect and parameter from a user-friendly, centralized interface, see TurboSplines plugin.

You can also find more video tutorials on our Youtube channel.
Share
Posted on Leave a comment

Spline Refiner Tutorial: Subdivide Curves Uniformly

Learn how to achieve perfectly even subdivision on spline curves in 3ds Max with the Spline Refiner plugin!
This quick tutorial shows you how to apply uniform segmentation to curved parts of your spline, ideal for preparing precise meshes for extrusion without losing any detail from your original shape.

Share
Posted on Leave a comment

Spline Cleaner: Detach Splines, Connect Segments, Weld Vertices

This Spline Cleaner tutorial dives into 3 essential functions — Explode, Connect, and Weld — to help you organize complex spline shapes, detach segments, and optimize vertices for cleaner results in your 3ds Max projects.

With Explode, you can detach all segments or splines within selected shapes, with the option to group segments by angle threshold. Weld Vertices allows you to merge vertices within a set distance, reducing unnecessary points. Finally, Connect Vertices enables you to join nearby vertices by creating new segments to fill up unwanted gaps in your curves.

Share
Posted on Leave a comment

Camera Clipping Pro Tutorial

Installation

The installation of this plugin is done the same way as for all our tools. You can find a detailed explanation in the F.A.Q. page, at the section titled “How do I install and activate Spline Dynamics plugins?“.

How to use it

The use of this tool is very simple and straightforward. Additionally, every button or control in the UI has a descriptive tooltip, so you can quickly get an idea of what they do.
Here are the general steps on how to use it:

  1. Execute the plugin. A small dialog will show up containing just one button with the label “Add Pro Clipping Controls”.
  2. Select the camera you want to assign the special clipping controls to and press the button.
  3. Go to the camera settings in the modifier panel. It will display a new rollout titled “Clipping Controls”.
    (The order in which this rollout appears may vary depending on the type of camera you are using: 3dsMax Physical camera / VRay / Corona )
  4. Use the “Pick object” button in the Near / Far sections to assign an object from the scene to control the corresponding  clipping plane.
    For the Near clipping you will tipically use the object that is blocking the camera view, and for the Far clipping it could be another one in the background.
    If the object you pick has a surface (mesh  or geometry), the plugin will automatically place the clipping plane at the locatoin of the face that is closer to the camera. If not (helper, light, etc.), it will use the object pivot to calculate the distance for clipping.
  5. Optionally set the Offset parameter to position the clipping plane some distance away from the picked object.
  6. Since the clipping planes/s will be now bound to the object/s, you can move your camera towards or away from the target without altering the position of the clipping plane/s.
    Another way to use it is to manually move the picked object/s to change the location of the clipping.
  7. If you want to preserve the framing while you move the camera, then turn on the “Auto-adjust FOV” option.
    This function will modify the FOV / Focal Length interactively while you move the camera forward or backward, so only the perspective of the objects will change but not the general framing.
    This option works only if the main FOV parameter of the camera is active. (It wont change anything if you have the focal length active, except for the Corona camera, which works in both cases.)
  8. Whenever you need, you can remove one or both bound objects by using the small buttons with an “X” next to each “Pick Object” button.

Other Considerations

If you see the clipping planes suddenly jump form one place to another while you move the camera, here’s the explanation and the solution.
That behaviour it’s because the camera might not be “seeing” the picked object anymore at some point, if it’s a mesh. So it starts to use its pivot location as a reference. So a good practice is to plan first if you will need to use a mesh or better use directly a dummy to make sure the script will always use its pivot to calculate the clipping distance.

Removing Clipping Controls / Uninstallation

To remove the custom clipping controls from a camera, use the Remove Clipping Controls button in the UI.

If you don’t have this plugin installed in your 3ds Max, and you open a scene containing a camera with this special Pro clipping controls assigned – or merge one from another file -, the corresponding rollout will show a warning message and the special controllers will be automatically removed. In that case, if you want to completely remove the additional rollout, select the camera and execute this line of code on the listener: custAttributes.delete $ 1
Then, the standard Near/Far clipping parameters will keep the previous values and you will be able to change them manually.

To uninstall the script, use the unistaller.mse file that comes with the script.

That’s all! I hope you found this tutorial helpful. Enjoy the plugin!


Share